
SMC Remote Access Guide for iMaxCamPro DVR's
for Bronze, Gold, and Platinum iMaxCamPro DVR's
Back to Remote Access Guides | iMaxCamPro Support | Support Home
Configuring the DVR to pick up an IP address
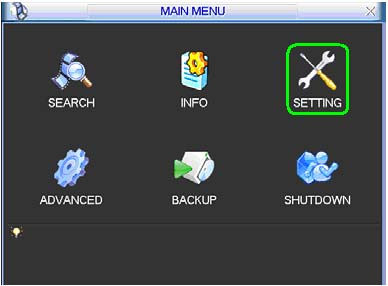
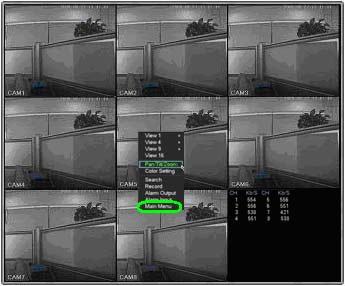
- Right Click and select Main Menu

- Select Setting
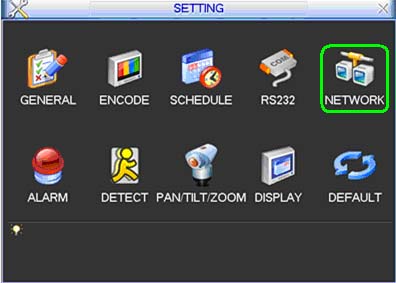
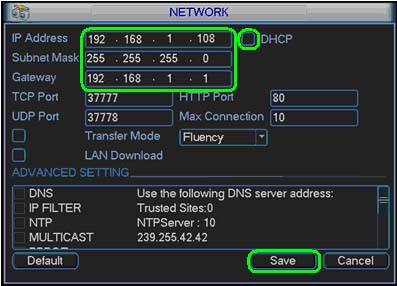
- Select Network
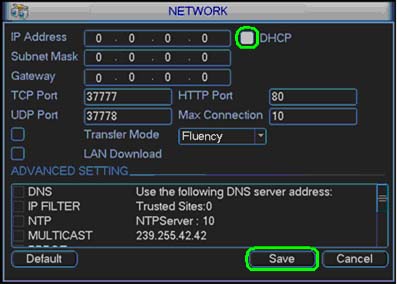
- Check the box next to DHCP and click Save
Power Cycle the DVR
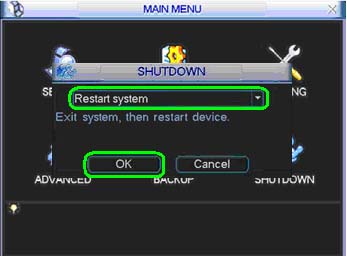
- Select Shutdown
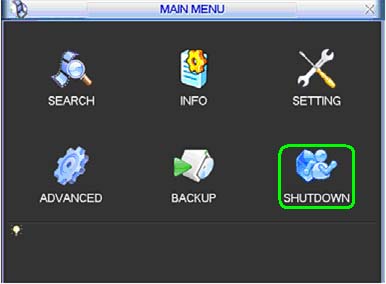
- Set to Restart system and click OK
Identifying the IP address
Right Click and select Main Menu
- Select Setting

- Select Network

- Uncheck the box next to DHCP, write down the IP Address, Subnet Mask, and Gateway, and click Save
To setup port forwarding on this router your computer needs to have a static ip address.
Or you can take alook at our Static IP Address guide to setup a static ip address. When you are finished setting up a static ip address, please come back to this page and enter the ip address you setup in the Static IP Address box below.
Do not skip this step!
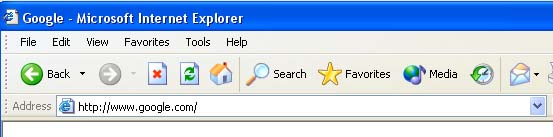
Open a web browser like Internet Explorer or Firefox. Enter the internal IP address of your router in the address bar of your browser. If you do not know your routers internal IP address please read our How To Find Your Routers IP Address guide.
In the picture above the address bar has http://www.google.com in it. Just replace all of that with the internal IP address of your router. By default the IP address should be set to 192.168.2.1.

You should see a box prompting you for your password. Enter your password now. By default your password is smcadmin. Click the Login button to log in to your router.
Please visit our Default Router Passwords page if the username and password shown above do not work for you.
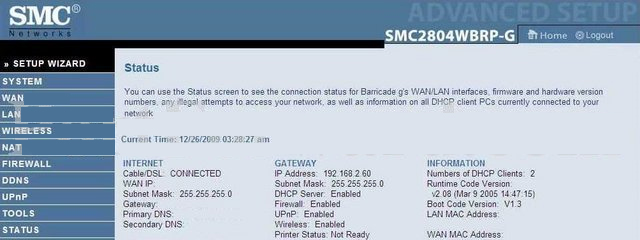
Click the NAT button near the left of the page.
You should now see a new menu. In this new menu, click Virtual Server.
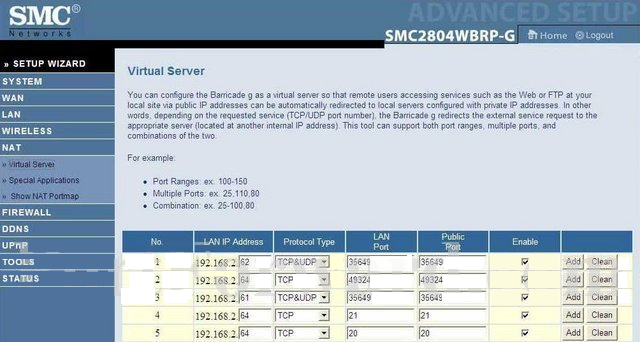
We will list a series of lines here that will show you exactly how to forward the ports you need to forward. iMaxCamPro DVR requires you to forward the 80,37777,37778 ports. Go ahead and enter the settings shown above into the Virtual Server menu and then click Add.
| No. | LAN IP Address | Protocol Type | LAN Port | Public Port | Enable | |
| 1 | 192.168.2. |
When you're finished, click Save Settings near the bottom of the screen to save your changes.
And that's it! You're done!
To test if your port has been properly forwarded, you can use our Port Checker tool.