How to setup DDNS using Internet Explorer or PSS (Win) Client
How to setup DDNS using Internet Explorer or
PSS (Win) Client
Bronze, Gold and Platinum Intellipix DVRs
Back to
IntelliPix Support |
Support Home
If you have a dynamic IP address, you may want to consider using the DDNS option
to avoid connection issues when remote viewing your DVR. DDNS service will take
an existing external IP address and issue a unique URL that will not change.
Note: You must sign up for the DDNS service before configuring the DVR. You can create
an account for free by clicking
here.
Step 1
Start off by logging in to the DVR, by using Internet Explorer or the PSS
software.
Internet Explorer Login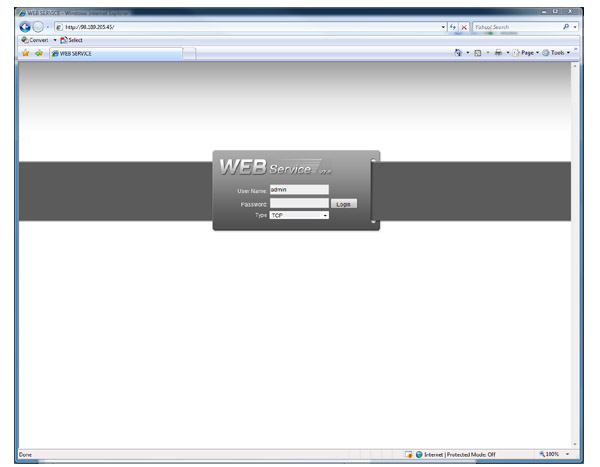
PSS Software Login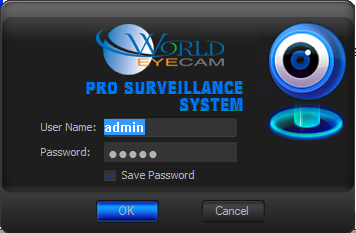
STEP 2
Once logged in with Internet Explorer, Click on the CONFIG button towards the
top of the screen.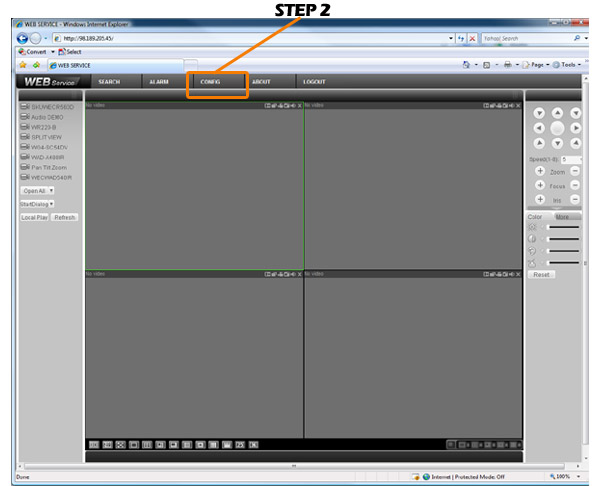
If you are using PSS software, RIGHT CLICK on the DVR in the device list and
click the ADVANCED, then DEVICE CONFIG.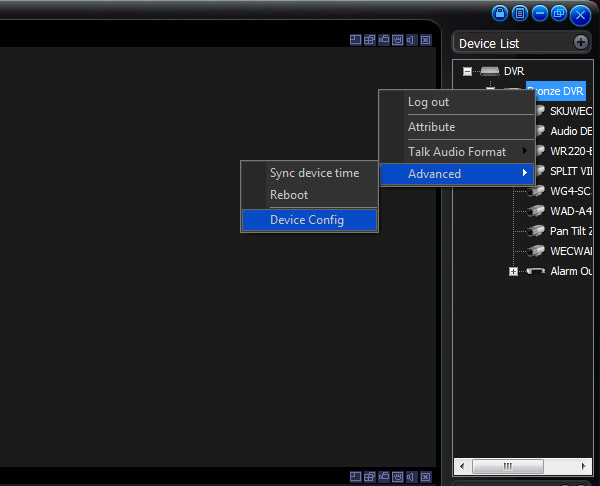
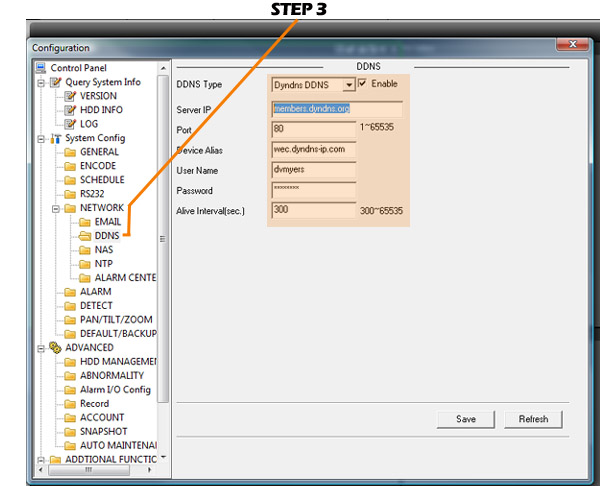
STEP 3 (For Internet Explorer and PSS)
For Internet Explorer and PSS, From the CONFIG screen click on
NETWORK and then DDNS.
• From he Dropdown box select Dyndns DDNS and click the enable box.
• In the SERVER IP field enter: members.dyndns.org
• Port should be set to the same as the DVR. (Port can be found in the network
screen)
• Device Alias should be the name issued by Dyndns Service. (ex.
web.dyndns-ip.com)
• User Name: What you used to signup for the Dyndns Service.
• Password: The password you selected at Dyndns
• Alive interval (Sec.): This is how often the DVR will check to see if the
external IP address has changed. 300 Seconds is default.
• Click the save button and that is it!
You can use Internet Explorer and test the Dyndns by using the URL instead of
the IP address.