
Setting up Schedule Recording 24/7
This tutorial guide will show you how to setup 24/7 schedule recording on iMaxCamPro DVR.

On the main screen
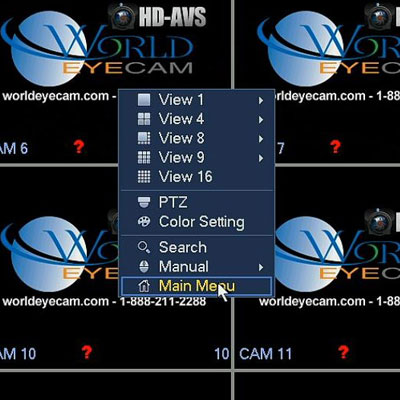
Right Click and select Main Menu
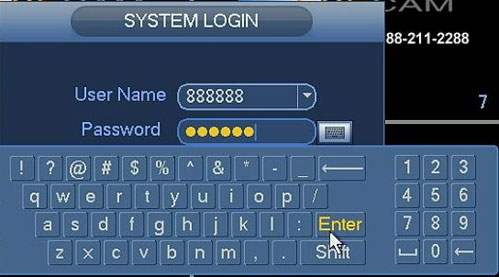
Login (Default log in information: User Name 888888 Password 888888)
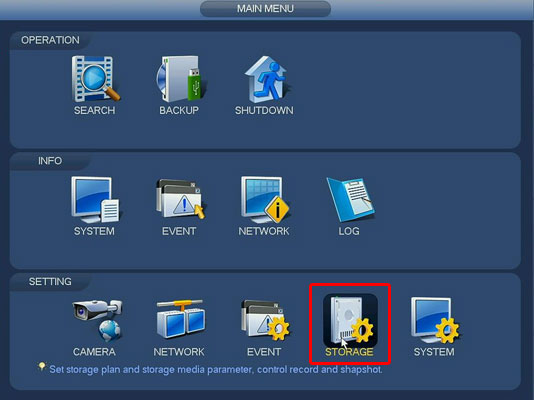
Once in the Main Menu, select STORAGE.
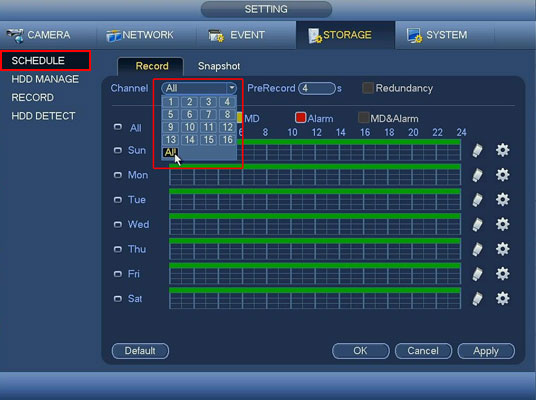
In Storage select Schedule from the left hand column, then from the drop-down box to the right of Channel, select the box labeled as All to select all channels.
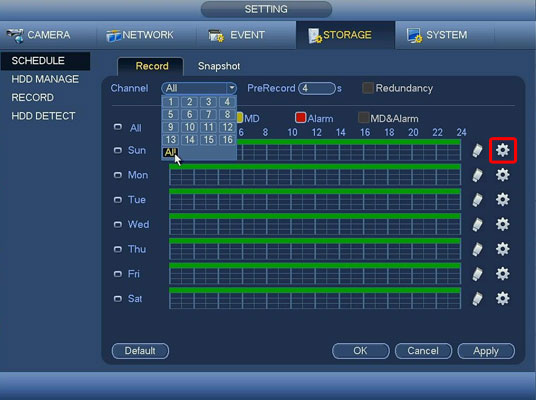
Click on Configure icon on the far right on the screen
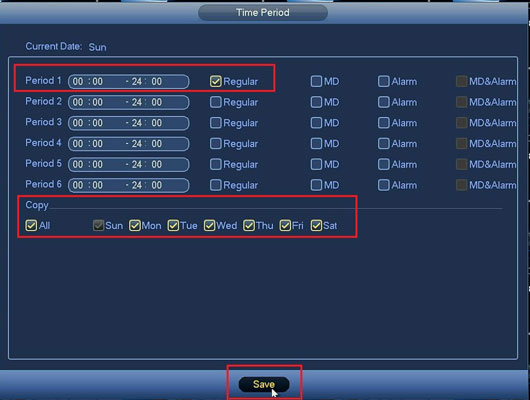
In the window labeled Time Period make sure you configure the settings as listed below:
Period 1, 00:00 – 24:00 Regular (needs to be selected, in order to record 24 hours)
Select All box, in order for the schedule to apply to all days of the week
Make sure you select Save to apply all the settings
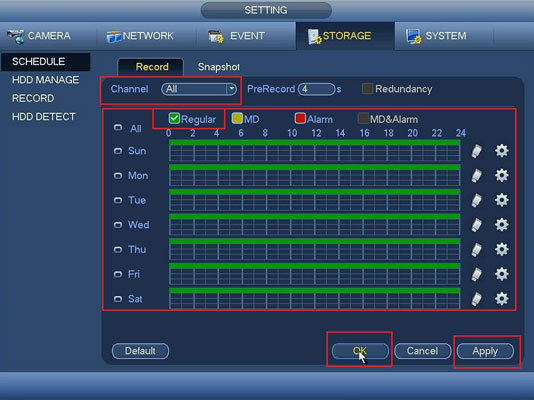
Confirm
- Channel is set to All
- Regular Box does have a check mark
- All the days of the weeks have a green bar across
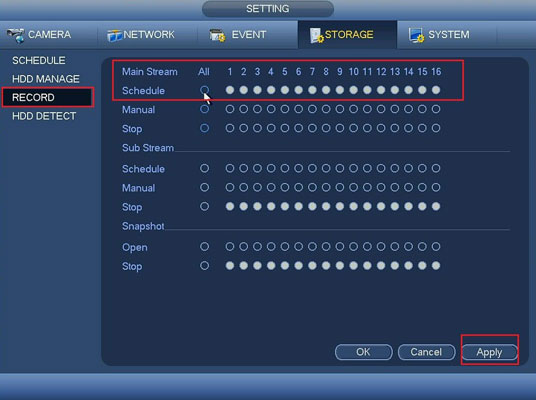
From the left hand column, select Record. Make sure all cameras are set Schedule, then select Apply and exit of the menu, If you want to enable recordings that can be viewed on mobile devices, also make sure that Sub Stream is set for Schedule on all cameras as well.
Now your recording system should be recording 24/7, and you are finish.