Add Device and Setup Push Notifications
LincX2PRO/Add Device and Setup Push Notifications
Add Device and Setup Push Notifications
Description
This guide will show how to add a LincX2Pro device as a P2P device to the DMSS app and also setup push notifications for the device
Prerequisites
- DMSS installed
- Imaxcampro Online Account - How To Create A Imaxcampro Online Account
- QR Code / Serial Number of Imaxcampro LincX2Pro device
Step by Step Instructions
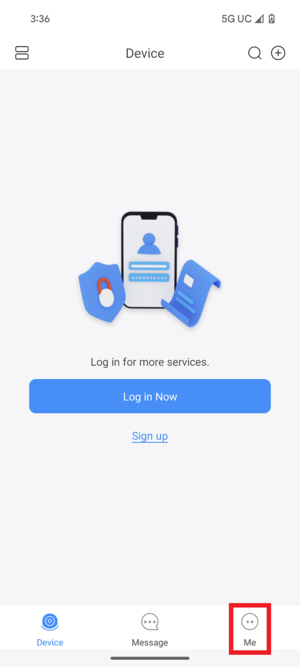
1. Open DMSS App then go to Me menu. If you are not logged into an account, it is required to do so before proceeding to adding the device.
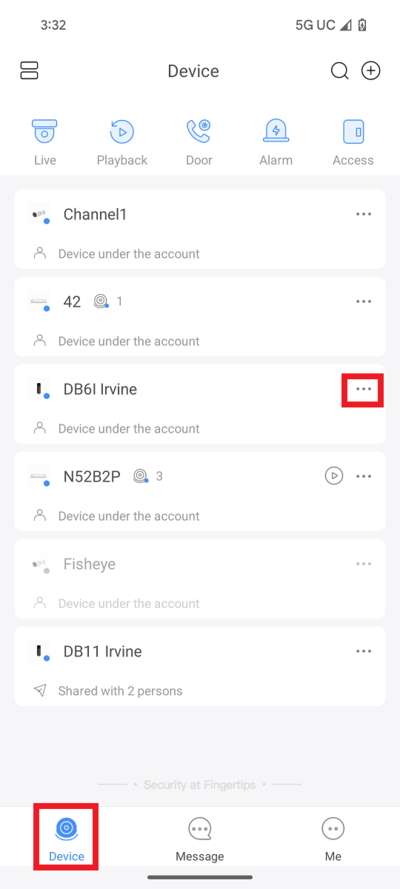
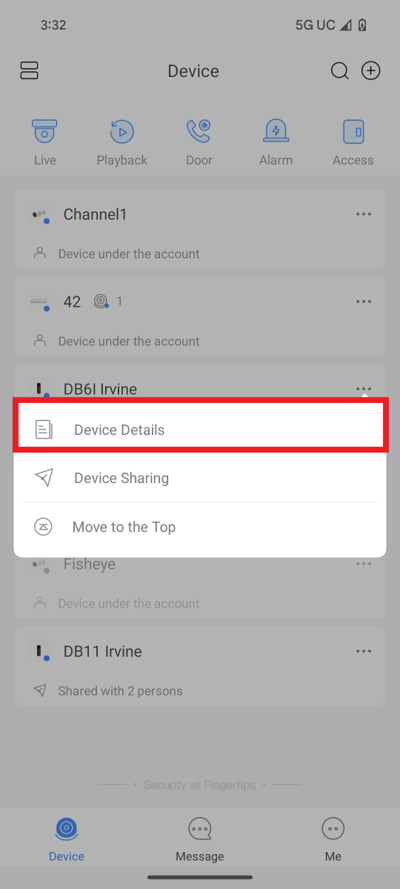
2. Select Device Details
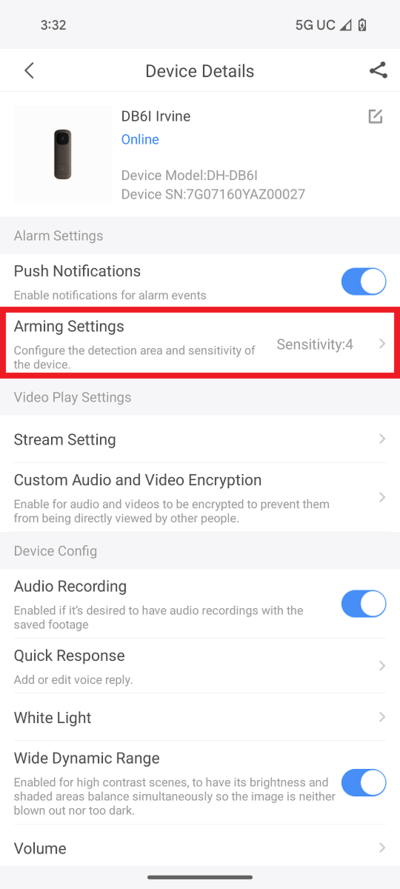
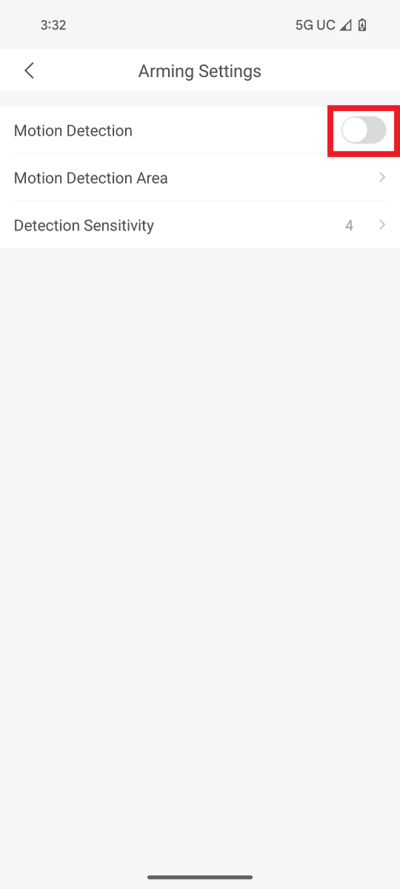
3. Select Arming Settings
4. Tap on the slider next to Motion Detection to enable it
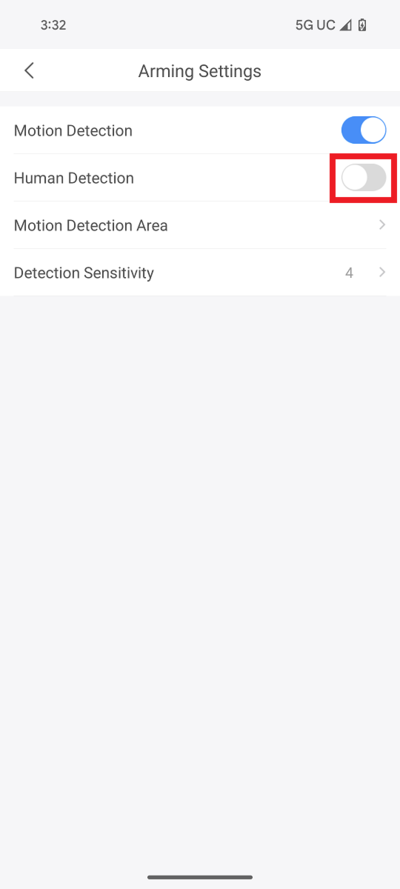
5. If you also want to detect Humans specifically, tap on the slider next to Human Detection to enable it
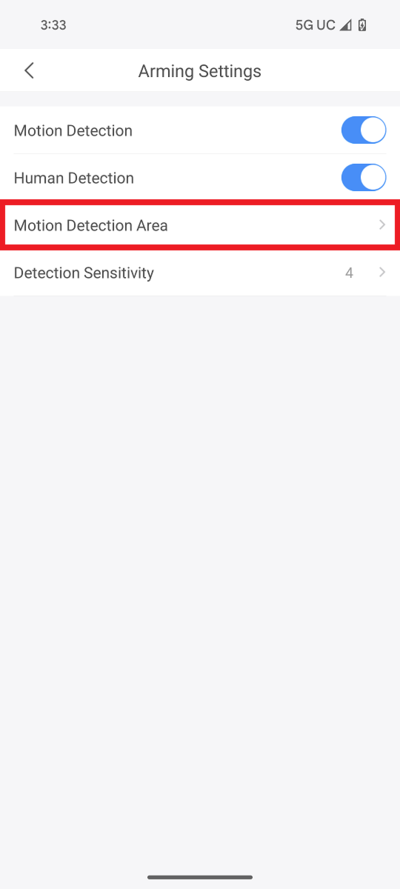
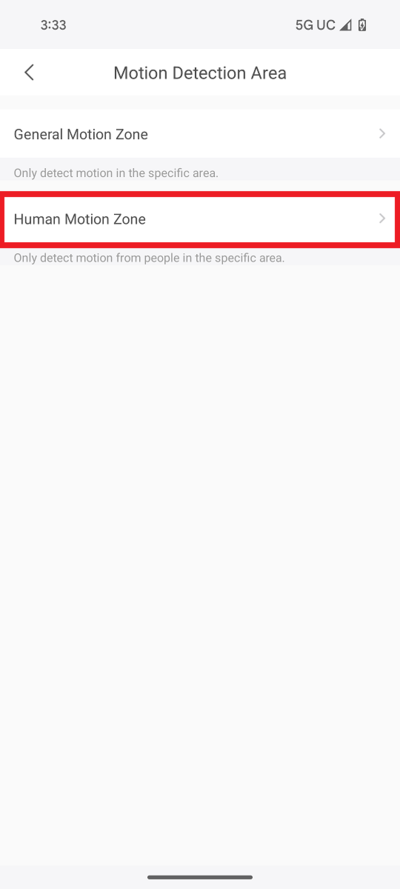
6. Tap on Motion Detection Area
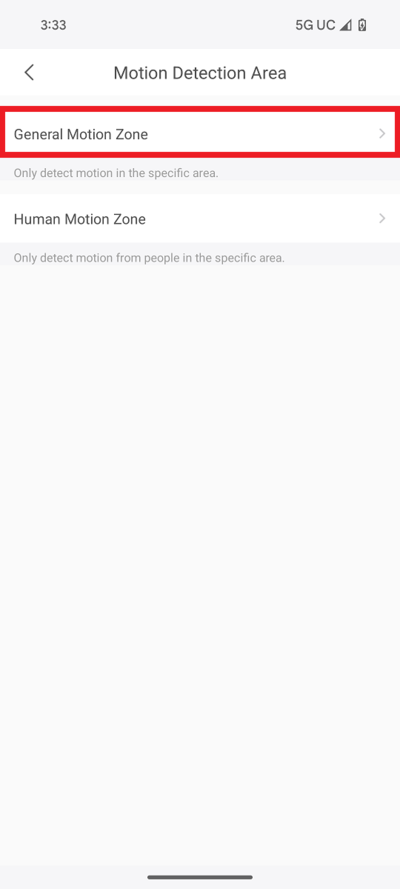
7. Tap on Genereal Motion Zone
8. Adjust the areas that the camera will look for motion by keeping areas in red highlighted for motion detection or clear to not detect for motion.
Tap on the broom icon on the left to clear everything highlighted on the screen.
Tap on the center icon to swap between areas that are highlighted and not highlighted.
Tap on the eraser icon on the right to switch between adding or removing highlighted areas.
When you are done, tap on the floppy disk save icon at the top right.
Then tap on the back arrow at the top left

9. Tap on Human Motion Zone
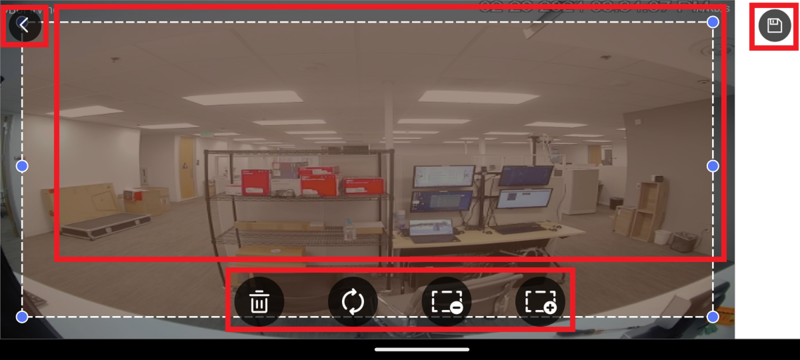
10. Adjust the areas the camera will look for human motion by moving around and resizing the box(es) on the screen.
To remove all detection boxes, tap on the trash can icon.
To rotate a selected box, tap on the circular arrows icon.
To remove a selected box, tap on the box with a minus icon.
To add an additional box, tap on the box with a plus icon.
When you are done, tap on the floppy disk save icon at the top right.
Then tap on the back arrow at the top left
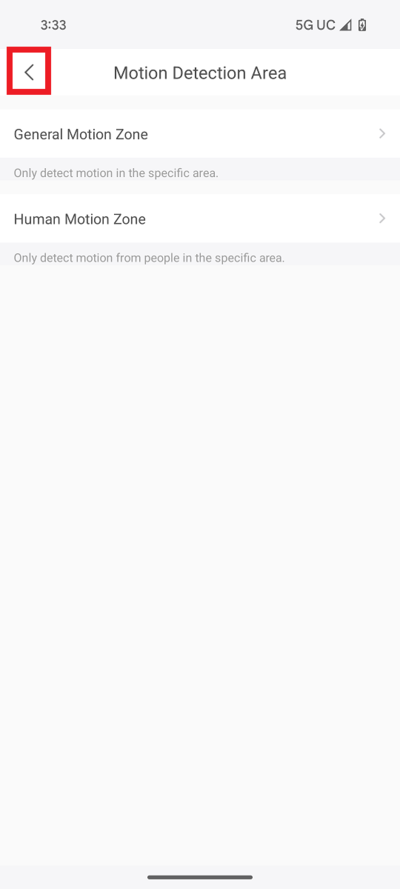
11. Tap on the back button at the top left
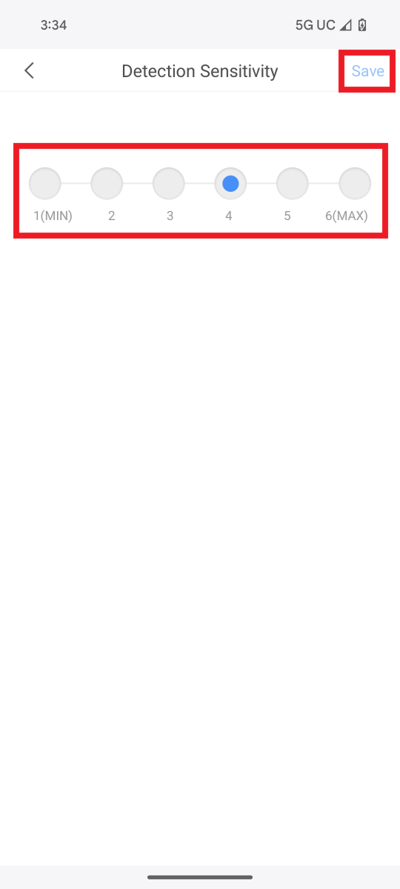
12. Tap on Detection Sensitivity
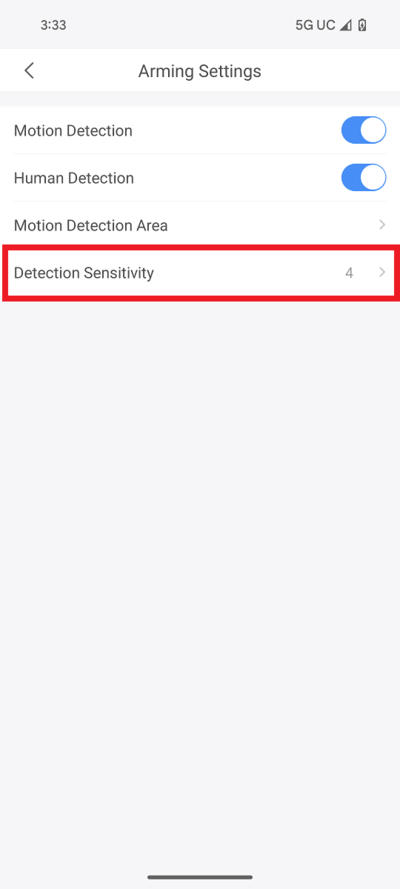
13. Tap on the number for the amount of sensitivity for Motion Detection.
Then tap on Save at the top
device.
 m
m
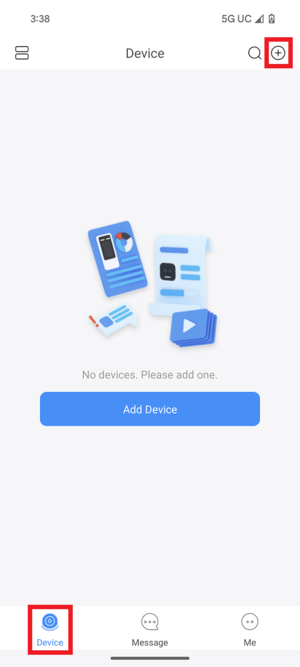
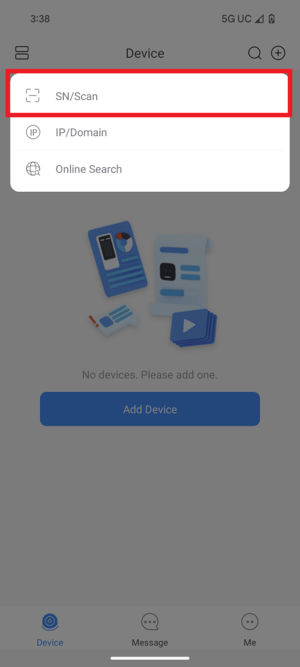
2.Tap on Device, and tap on + button on the top right hand corner, then choose SN/Scan.
3. Scan the QR code of the device that is located on the back or side.
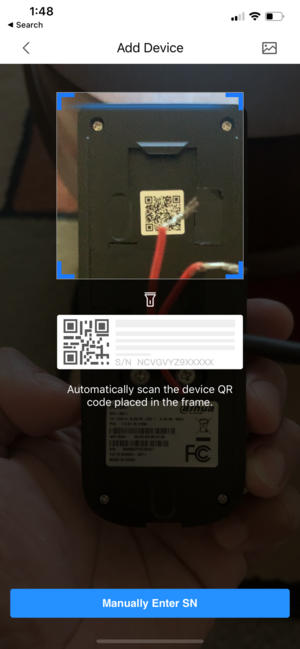
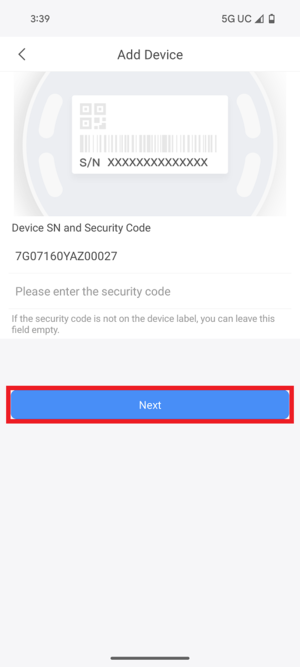
4. It will show the Serial Number under "Device SN and Security Code".
Tap on Next.
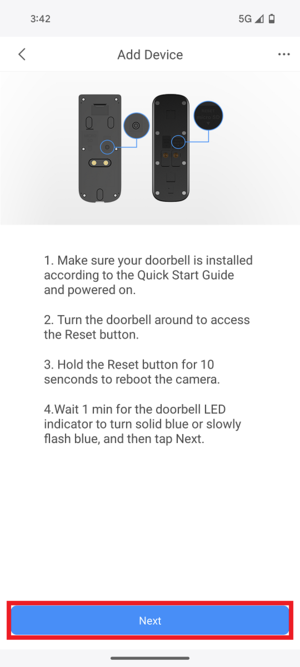
5. Make sure your device is connected to the power and the indicator light flashes blue. Tap on Next.
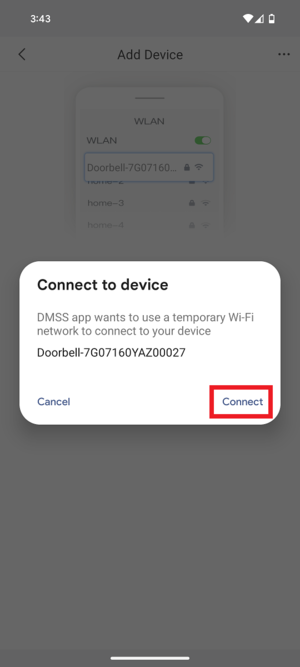
6. When a prompt comes up, Tap on Connect to continue.
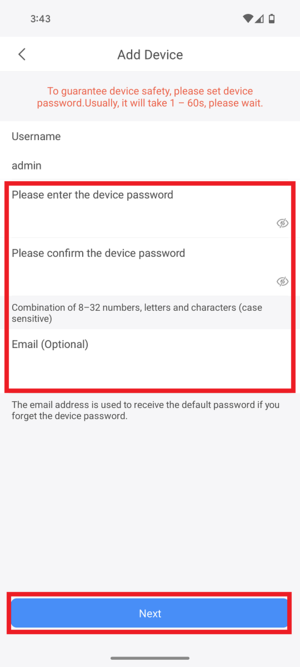
7. Setup the device password. Then tap on Next.
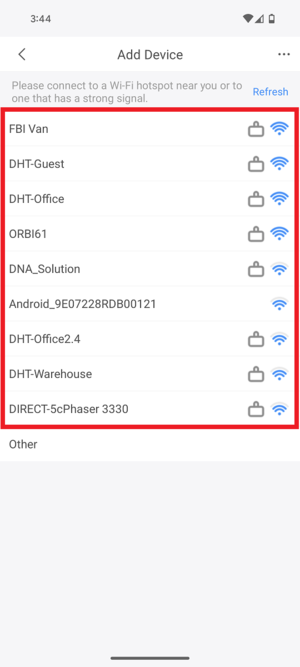
8. Choose the WIFI network the LincX2Pro Device will be connecting to.
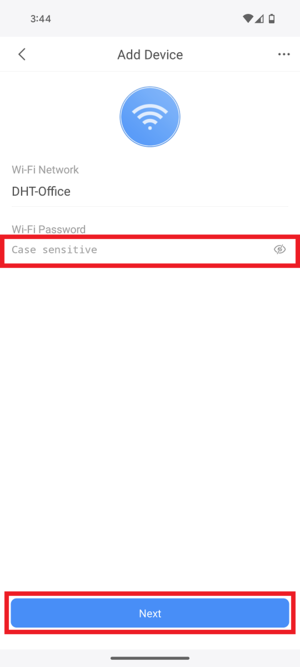
9. Enter Wifi password and tap on Next to continue the setup.
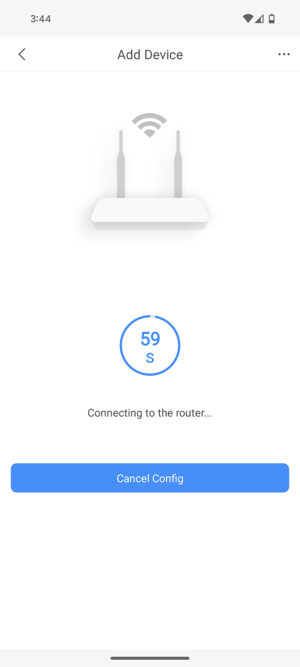
10. Wait while the device connects to the Wifi.
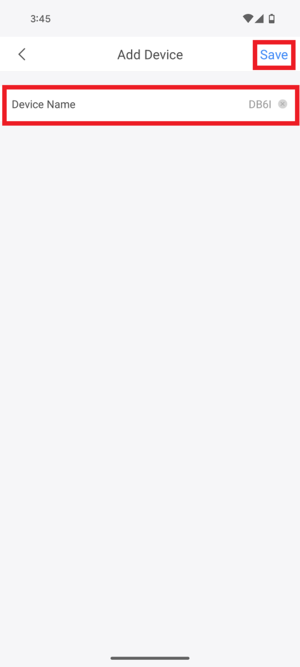
11. Enter the user-defined Device Name. Then tap on Save.
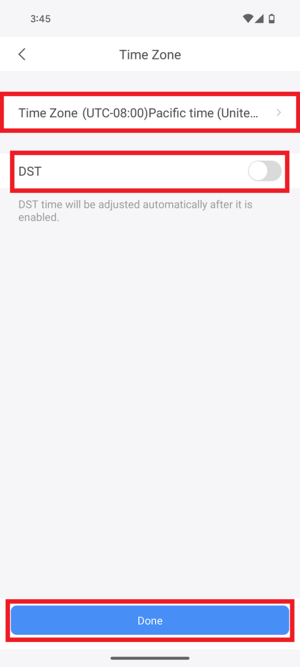
12. Adjust the Timezone and Daylight Savings Time. Then tap on Done.
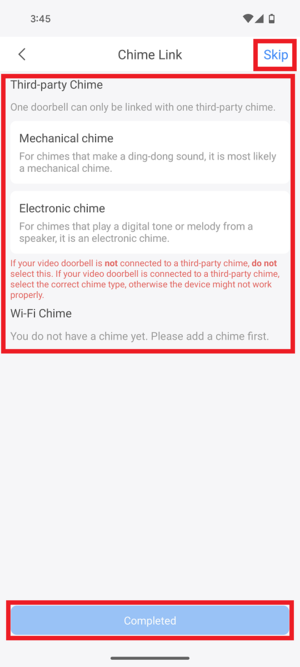
13. Select the existing door chime you have at the location. Electronic Chime or Mechanical Chime, or if you are using a Wireless door chime, you should see this pop-up under Wireless Chime. Then tap on Completed on the bottom. If you don't have any sort of external chime, tap on Skip at the top instead.
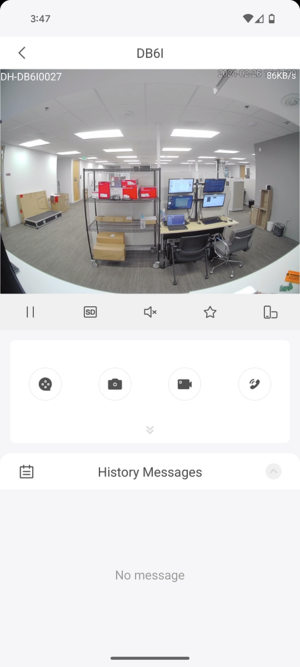
14. Once setup is complete, you will be able to view the live view of your Doorbell Camera.
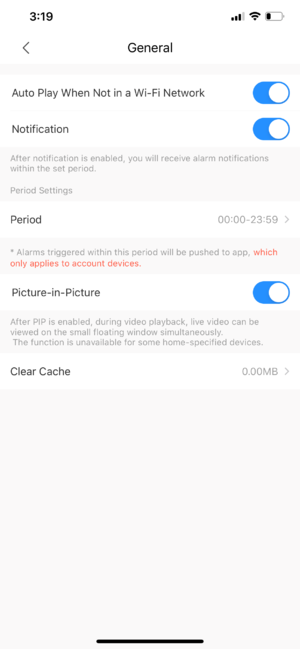
15. Go to Me > General. Make sure that the Notification Switch is enabled and now you should receive a call notification when doorbell button is pushed.